
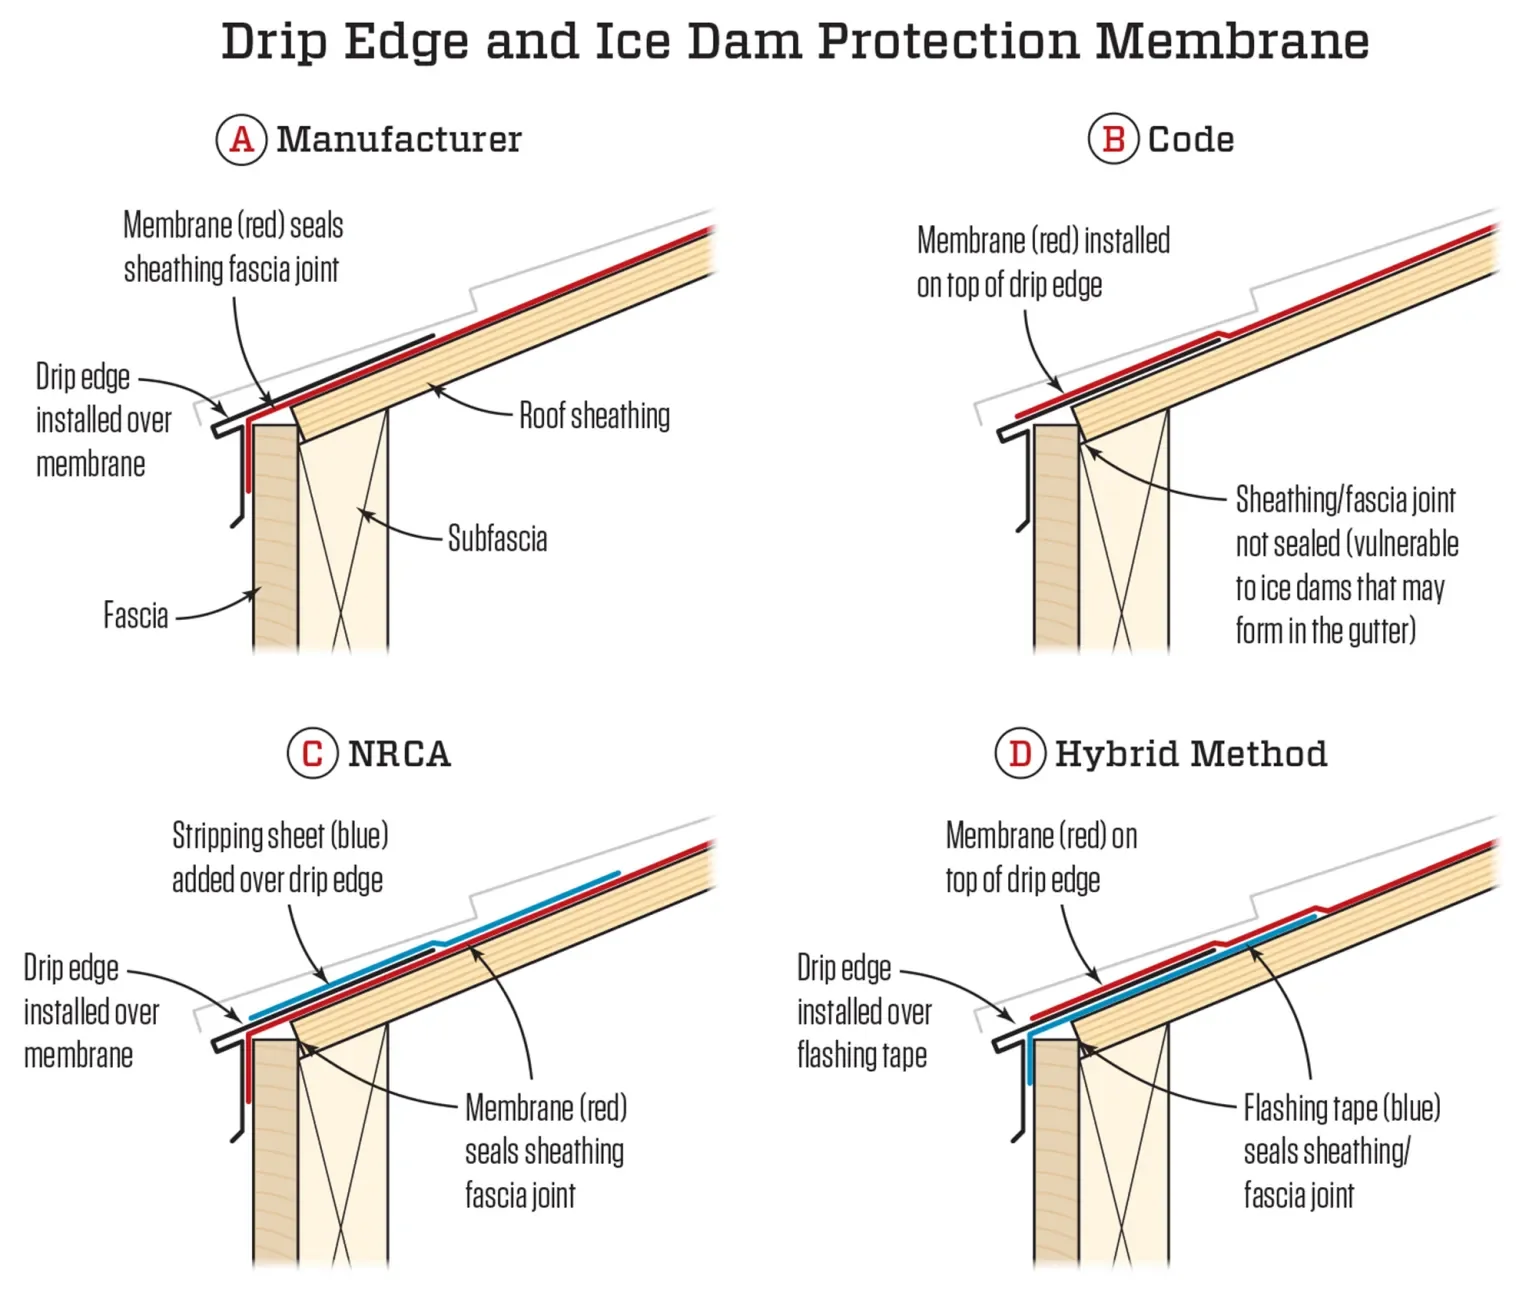
Drip edge
Drip Edge – The Complete Guide to Roofing Protection
What is a Drip Edge?
A drip edge is a small but crucial component of a roofing system designed to protect the edges of your roof from water infiltration. It is typically a thin strip of metal installed along the eaves and rakes of a roof. Its main function is to guide rainwater away from the fascia and into the gutters, ensuring that water does not seep underneath the roofing materials. Without a drip edge, water can easily find its way under shingles or tiles, leading to rot, mold, and expensive structural damage.
Think of it like the umbrella for your house’s edges—it doesn’t look like much, but without it, water will drip everywhere, damaging everything underneath. Homeowners often overlook this simple addition, but roofing experts will tell you that it’s one of the most important investments you can make for the health of your home.
Why Drip Edge is Essential for Roof Longevity
A drip edge plays a far greater role than just “finishing” the roof. It acts as a barrier against water intrusion, protects your fascia boards, keeps pests from entering the gaps, and improves the efficiency of your gutters. Many homeowners don’t realize how vulnerable their roof is without a drip edge until it’s too late and damage has already occurred.
Imagine having gutters but no drip edge. Water can still creep behind the gutter and soak into your fascia, causing hidden rot that spreads over time. The drip edge eliminates that risk by forcing water into the gutter. In addition, strong winds and heavy rains can push water sideways—something a drip edge is specifically designed to counter. Ultimately, this small metal strip extends the life of your roofing materials, prevents costly repairs, and maintains the overall value of your home.
Types of Drip Edge
L-Shaped Drip Edge
The L-shaped drip edge, also known as Type L, is one of the most common designs used in residential roofing. Shaped like the letter “L,” it features a short vertical piece that covers the fascia and a longer horizontal flange that sits beneath the roofing material. This type is widely used for asphalt shingle roofs because it provides a straightforward way to channel water away from the edges.
Its simplicity makes it easy to install, cost-effective, and reliable for standard roof types. While not as decorative as some other designs, the L-shape drip edge is practical and does its job effectively. Many contractors prefer it for budget-friendly projects without compromising durability.
T-Shaped Drip Edge
The T-shaped drip edge, also known as Type T or D-metal, has a profile that resembles the letter “T.” It features a more pronounced overhang, making it ideal for roofs where gutters are not installed. The wider surface area provides better water guidance, ensuring that rainwater drips away from the building’s siding and foundation.
This design is especially beneficial for homes in areas with heavy rainfall or where water runoff needs more control. It also provides an aesthetic advantage by giving a more finished look to the roofline. However, it is usually more expensive than the L-shaped type and requires more precision during installation.
F-Shaped Drip Edge
The F-shaped drip edge, also called Type F or “gutter apron,” has a longer flange that extends further down into the gutter system. This design is perfect for homes with large overhangs or where the fascia board needs additional protection. The F-shape also makes it easier to retrofit onto existing roofs without removing the shingles, which is why many roof repair projects favor it.
It combines functionality with versatility, making it one of the most preferred choices among roofing professionals. The F-shaped drip edge also gives a neat and polished appearance, which enhances curb appeal.
Comparing Different Types of Drip Edge
Each type of drip edge serves a specific purpose, and choosing the right one depends on your roofing system, climate, and budget. L-shaped edges are best for standard roofs with gutters, T-shaped edges suit homes without gutters, and F-shaped edges work great for retrofits or homes needing extra water guidance.
When comparing these types, homeowners should consider not only cost but also the level of protection needed. For instance, coastal homes with high winds and salty air may benefit more from an F-shaped copper drip edge, while a budget-conscious homeowner in a mild climate might find the L-shape aluminum edge sufficient.
Materials Used in Drip Edge
Aluminum Drip Edge
Aluminum is one of the most popular materials for drip edges because it is lightweight, affordable, and resistant to rust. It comes in a wide variety of colors, making it easy to match with your home’s trim and gutters. Homeowners love aluminum because it provides durability without adding extra weight to the roof structure.
The biggest advantage of aluminum is its resistance to corrosion, making it suitable for most climates. However, in extremely coastal regions where saltwater exposure is high, aluminum may wear faster unless it’s coated with protective layers. Still, it remains a top choice for most residential applications due to its balance of cost and performance.
Galvanized Steel Drip Edge
Galvanized steel drip edges are known for their strength and durability. Coated with a layer of zinc, they are designed to resist rust and corrosion. This material is excellent for homes in regions with severe weather conditions, such as heavy snow, ice, or storms. Unlike aluminum, galvanized steel offers more structural support and can withstand greater physical stress.
The downside is that galvanized steel can be prone to rust over time if the protective zinc coating wears off. It is also heavier than aluminum, which may make installation slightly more challenging. However, if longevity and toughness are your priorities, galvanized steel is an excellent choice.
Copper Drip Edge
Copper is the premium choice for drip edges, admired not only for its durability but also for its beauty. Over time, copper develops a natural patina—a greenish hue—that adds an elegant and timeless look to the home. This makes copper drip edges highly desirable for luxury homes or historic restorations.
Copper is virtually maintenance-free and can last for decades without corroding. It is especially suitable for coastal areas because it withstands salty air better than other materials. However, it is significantly more expensive than aluminum or steel, which is why it is often considered a long-term investment rather than a budget-friendly option.
Which Material is Best for Your Roof?
Choosing the best material depends on your priorities. If you want affordability and ease of installation, aluminum is a great choice. For homes in harsh climates, galvanized steel offers durability and strength. If aesthetics and long-term investment are your goals, copper is the clear winner.
Ultimately, the decision comes down to balancing cost, climate, and design preferences. A professional roofer can help you decide which material will work best for your specific home and location.
Benefits of Installing Drip Edge
Protection Against Water Damage
Water is the number one enemy of roofing systems, and a drip edge acts as your home’s first line of defense. Without it, rainwater can seep underneath shingles, leading to rot, mold, and weakened roof decking. Over time, this hidden damage can compromise the structural integrity of your entire roof, resulting in expensive repairs or premature replacement.
A drip edge ensures that water flows directly into the gutters or drips away from the home, keeping the roof dry and stable. It prevents water from curling back under shingles (a phenomenon known as “capillary action”) and protects fascia boards from constant exposure to moisture.
Benefits of Installing Drip Edge (continued)
Preventing Pest Infestation
Another overlooked benefit of drip edge installation is pest prevention. Small gaps at the edge of your roof may not seem like a big deal, but for pests like insects, rodents, and even birds, they are an open invitation. Squirrels and mice can chew their way into attics through exposed fascia, while bees and wasps can build nests in unprotected gaps.
A drip edge closes off these vulnerable areas, creating a physical barrier that keeps pests out. Unlike caulking or temporary seals, drip edges provide a long-lasting solution that pests cannot chew through. By installing drip edges, you’re not only protecting your roof but also maintaining the hygiene and comfort of your home’s interior.
Think of it as locking the doors of your home—but for your roof. Without it, pests have an easy entry point that can cause significant damage, from chewed insulation to contamination and even structural weakening.
Enhancing Roof Lifespan
Your roof is one of the most expensive parts of your home, and a drip edge helps extend its lifespan. By directing water away from vulnerable areas, drip edges reduce the wear and tear that normally shortens a roof’s durability. Shingles, fascia boards, and underlayment all last longer when they are shielded from constant water exposure.
Roof replacements can cost tens of thousands of dollars, while drip edges cost just a fraction of that. Installing one is essentially an insurance policy against early roof failure. Many homeowners who neglect drip edges often face costly repairs far sooner than expected, simply because water intrusion accelerates damage.
In the long run, a drip edge can add several years to your roof’s life, saving you money and headaches. It’s a small investment that provides huge returns in terms of protection and durability.
Improving Home Aesthetics
Beyond function, drip edges also improve the visual appeal of your home. Available in various colors and materials, they can be matched to your gutters, trim, or shingles to create a seamless look. A neat, straight edge on a roofline makes a house look finished and well-maintained.
For homeowners who value curb appeal, this detail can make a difference, especially when selling a property. Prospective buyers are more likely to view a home with drip edges as better cared for, which can increase property value. And if you’re installing copper drip edges, they can even become a decorative feature that sets your home apart.
Installation Process of Drip Edge
Tools and Materials Needed
Before you begin installation, gather the right tools and materials. A basic drip edge installation requires:
Drip edge strips (aluminum, steel, or copper)
Roofing nails or screws
Roofing hammer or nail gun
Tin snips (for cutting metal)
Measuring tape
Chalk line (for straight alignment)
Ladder and safety gear
Having these ready ensures a smooth installation process without unnecessary delays.
Step-by-Step Installation Guide
Prepare the Roof Edges – Make sure the roof deck is clean and dry before installation.
Measure and Cut – Use a measuring tape to size the drip edge strips, then cut them with tin snips.
Install Along the Eaves – Place the drip edge under the first layer of shingles and over the underlayment. Nail it down securely.
Overlap the Strips – Overlap each strip by at least 2 inches to prevent gaps.
Install Along the Rakes – Place the drip edge over the underlayment at the rakes for maximum protection.
Seal the Joints – Use roofing cement if necessary to seal overlaps and prevent leaks.
Inspect the Installation – Ensure the drip edge is straight and firmly secured.
Following this method ensures the drip edge functions properly and lasts for years without issues.
Common Mistakes to Avoid During Installation
Installing in the Wrong Order – Many homeowners mistakenly install the drip edge after shingles, reducing its effectiveness.
Not Overlapping Properly – Gaps between strips can let water seep in.
Using Too Few Nails – Loose drip edges can flap in the wind, causing leaks.
Skipping the Rakes – Installing only at the eaves leaves your roof vulnerable to wind-driven rain.
Avoiding these mistakes ensures your drip edge provides maximum protection.
Professional vs. DIY Installation
While installing a drip edge can be a DIY project for handy homeowners, professional installation guarantees compliance with local codes and long-lasting results. Roofing contractors have the experience to install drip edges correctly the first time, minimizing the risk of mistakes.
If you’re working on a brand-new roof, it’s always best to let professionals handle it. However, for small repairs or retrofits, a confident DIYer can successfully install a drip edge with the right tools. Just remember—mistakes can lead to costly water damage, so weigh the risks carefully.
Building Codes and Regulations for Drip Edge
Understanding Local Building Codes
Drip edges are not just recommended—they are often required by building codes. In fact, the International Residential Code (IRC) mandates drip edge installation for asphalt shingle roofs. This requirement ensures that homes are built with proper water management in place.
Failing to install a drip edge when required can result in failed inspections, additional costs, and even issues when selling your home. Codes exist to protect homeowners, and drip edges are a crucial part of maintaining roofing integrity.
Drip Edge Requirements in Different Regions
Not all regions have the same building code requirements. In areas with heavy rainfall, snow, or hurricanes, codes may require larger or more durable drip edges. Coastal areas, for example, often recommend copper or galvanized steel to withstand salty air.
In contrast, dry regions may not have strict drip edge requirements, but it’s still a smart investment. Before starting your project, always check your local building codes to ensure compliance.
Compliance and Safety Standards
Beyond legal compliance, installing drip edges also ensures safety and insurance coverage. Some insurance companies may deny water damage claims if they determine the roof was not properly protected with a drip edge.
Compliance is not just about passing inspections—it’s about ensuring your home is fully protected and covered in case of damage. Following proper standards gives you peace of mind and long-term protection.
Cost of Drip Edge Installation
Average Cost Per Linear Foot
The cost of a drip edge installation typically ranges between $1 to $2 per linear foot for materials. Labor costs add another $2 to $4 per linear foot, depending on the complexity of the project. For an average home, the total cost ranges from $150 to $400, but larger roofs or high-end materials like copper can cost much more.
Factors Affecting Installation Costs
Several factors influence the total price:
Material choice (aluminum vs. copper)
Roof size and design complexity
Local labor rates
Whether it’s a new installation or retrofit
Accessibility of the roof
A steep roof or multi-level home will naturally increase installation costs compared to a simple, single-level roof.
Cost Comparison: DIY vs. Hiring Professionals
DIY installation can save you on labor costs, but it comes with risks. If installed incorrectly, the drip edge won’t function as intended, leading to future water damage that could cost thousands. Professional installation, while more expensive upfront, ensures the job is done correctly and often comes with a warranty.
For homeowners on a budget, DIY may be tempting, but if you’re unsure of your skills, professional installation is the smarter choice. Think of it this way—saving $200 now could cost you $2,000 later if water damage occurs.